This tutorial is a draft by @EthanDenson and @buccalon
Registration for Rio Narratives is currently restricted to beta testers only.
If you want to join this group, send a request to imaginerio@rice.edu
Create a narrative
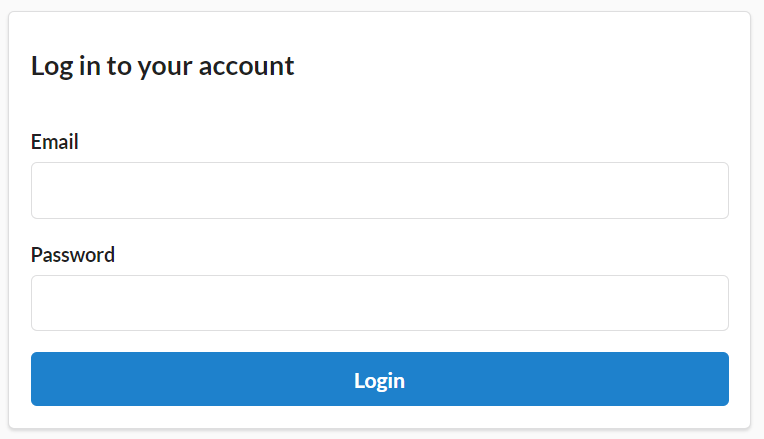
1. Login with your username and password:
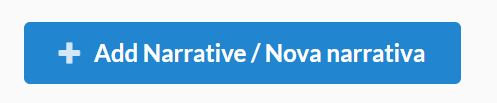
2. Click on the “Add Narrative” button to create a new project.
This will take you to a page in which you can set the basic information of your new narrative:
3. Add title, description, and image
To add a Title, click within the Title textbox and replace “Untitled project” with your chosen title:

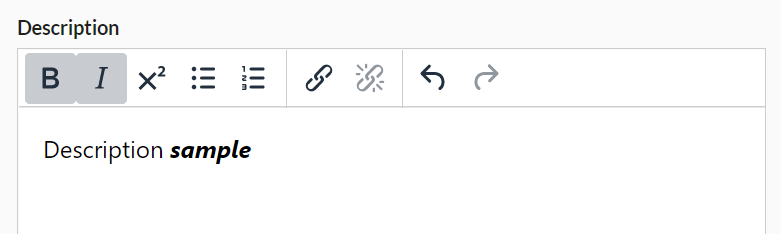
To add a Description, click within the Description textbox.
You can format your text and add hyperlinks using the toolbar at the top:
If you have an Image you wish to feature in your narrative, you can add it under the image section using the “Choose File” button. This will open a local file browser, so to add a file, you must first have it downloaded and saved locally on your computer. Navigate through the file selector and pick whatever image file you would like. You can then provide relevant caption and link for further information:

4. Select tags and category
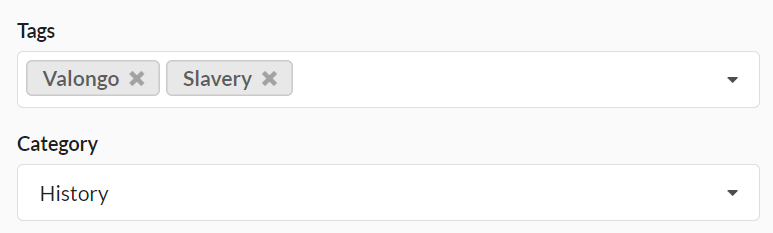
Tags and categories are good ways to communicate your narrative’s approach at a glance, and also helps to sort projects and make them easier to find. You can select Multiple Tags from the available list in the Tags drop-down menu. If you want to add a new tag, simply type it and press enter to save it. Next you can select One Category from the available list in the Category drop-down menu.
5. Correct information at any time
To change information about your narrative, click on its title while on the My Narratives page:

Learn the editor
6. Open the editor
To open up the editor, click on the ![]() button on the My Narratives page. This will send you a different page, where you can edit sequences of cards in a similar fashion to slideshow applications.
button on the My Narratives page. This will send you a different page, where you can edit sequences of cards in a similar fashion to slideshow applications.
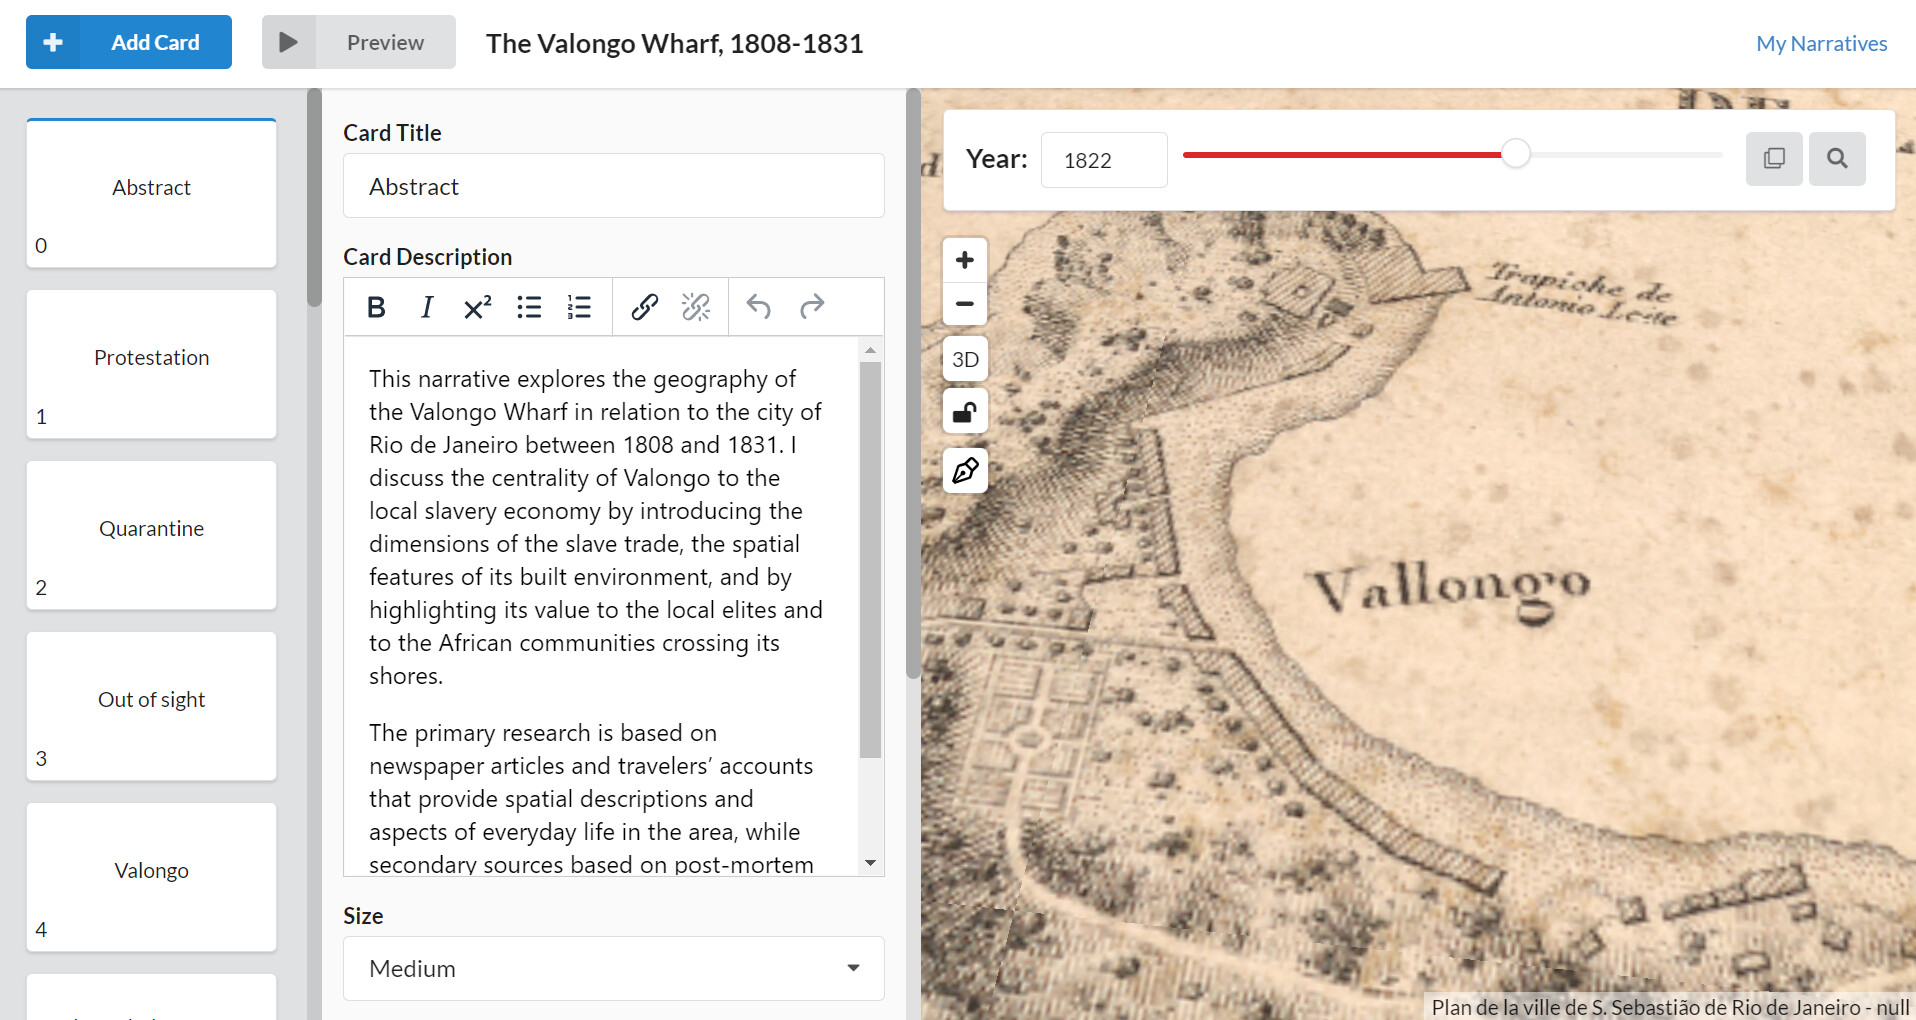
7. Add a card
To add a new Card to your narrative click the ![]() button in the top left corner of the webpage. This will add a new card below the currently selected card. You can change the size of the card by selecting from the 3 options in the drop down box below the word Size.
button in the top left corner of the webpage. This will add a new card below the currently selected card. You can change the size of the card by selecting from the 3 options in the drop down box below the word Size.
8. Format your text
8.1 How to add a link
8.2 How to add footnotes
8.3 X^2 is for superscript footnotes
![]()
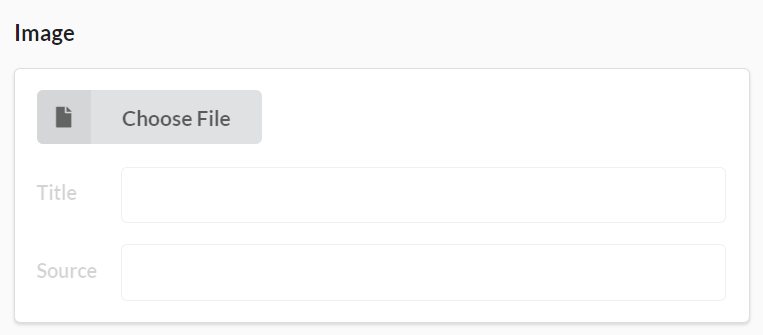
9. Add an image
To add an image, locate the Image section under the card information panel to the left of the map window.
10. Change map year
To change the year of the map you can either:
10.1 Type the desired year in the box next to the word Year at the top of the map and press enter.
10.2 Click and drag the small white circle along the line in the toolbar near the top of the webpage until you reach your desired year. Dragging all the way to the right side will be the year 2020, and the oldest date possible at the left end of the line is 1503.
11. Change map position
Using the cursor, click and hold the left mouse button while over the map.
11.1 3D and 2D, rotation, position lock. (tilt, zoom, etc)
![]()
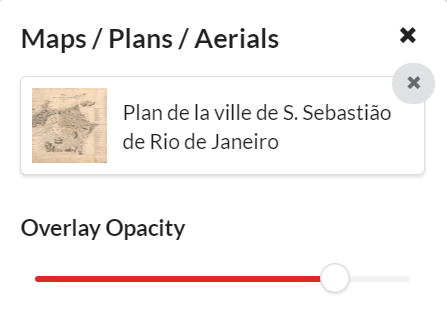
12. Select a georeferenced map
First, select a year on the map timeline, then open the layers tab by clicking on the ![]() button, and then the
button, and then the ![]() button. This will open a selection box where you can pick the available basemaps for the selected year. After selecting the map, you can change its opacity using the “Overlay Opacity” slider.
button. This will open a selection box where you can pick the available basemaps for the selected year. After selecting the map, you can change its opacity using the “Overlay Opacity” slider.
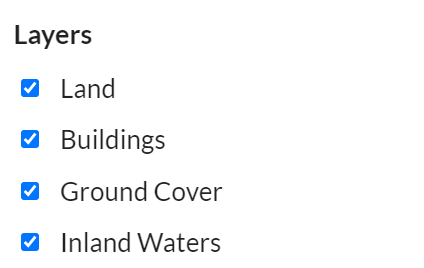
13. Toggle layers
14. Highlight map features
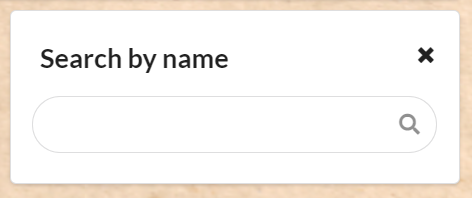
You can search and highlight multiple map features by clicking on the ![]() button and search the name of a certain element of the map (building, street, square, neibourhoood, etc).
button and search the name of a certain element of the map (building, street, square, neibourhoood, etc).
15. Add annotations
Publish and share
16. Preview your work
At any time you can preview your narrative by clicking the ![]() button on the My Narratives page or inside the editor. This will open a new page with your narrative in presentation mode. If you have two monitors, we recommend opening the editor and the preview on separate screens, so you can follow the result of your changes as they happen.
button on the My Narratives page or inside the editor. This will open a new page with your narrative in presentation mode. If you have two monitors, we recommend opening the editor and the preview on separate screens, so you can follow the result of your changes as they happen.
17. Publish in the gallery
By default, all narratives have a publicly available address that you can share with your audience. Once you are done with your narrative, you can apply for publishing it on peer-reviewed imagineRio’s main gallery, where any user can see your project.
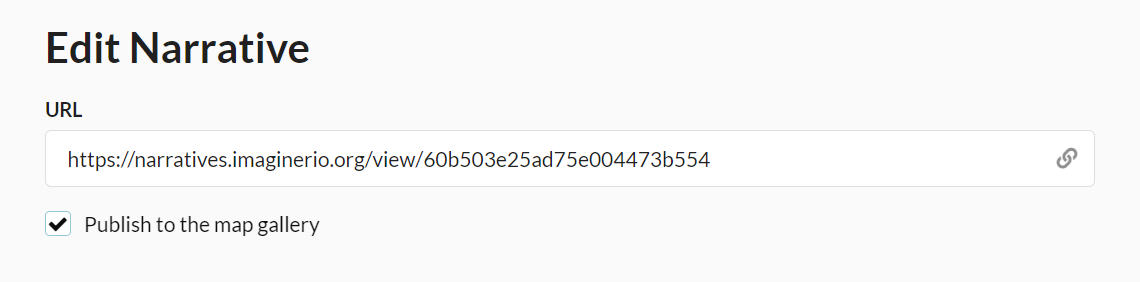
To apply for publishing, enter the narrative settings by clicking on the title of your narrative. Click the checkbox that says “I want to publish on the main gallery”, and save your changes by clicking on the “Save” button at the bottom of the page. You’ll be notified as your narrative is reviewed and approved.
18. Share options
You can share your published narrative using the social media buttons.